Six Tips for Planning a Successful Deck Build
To ensure the success of a home improvement project, the planning stage may loom as the most important. Here are six planning considerations when building a Trex® deck.
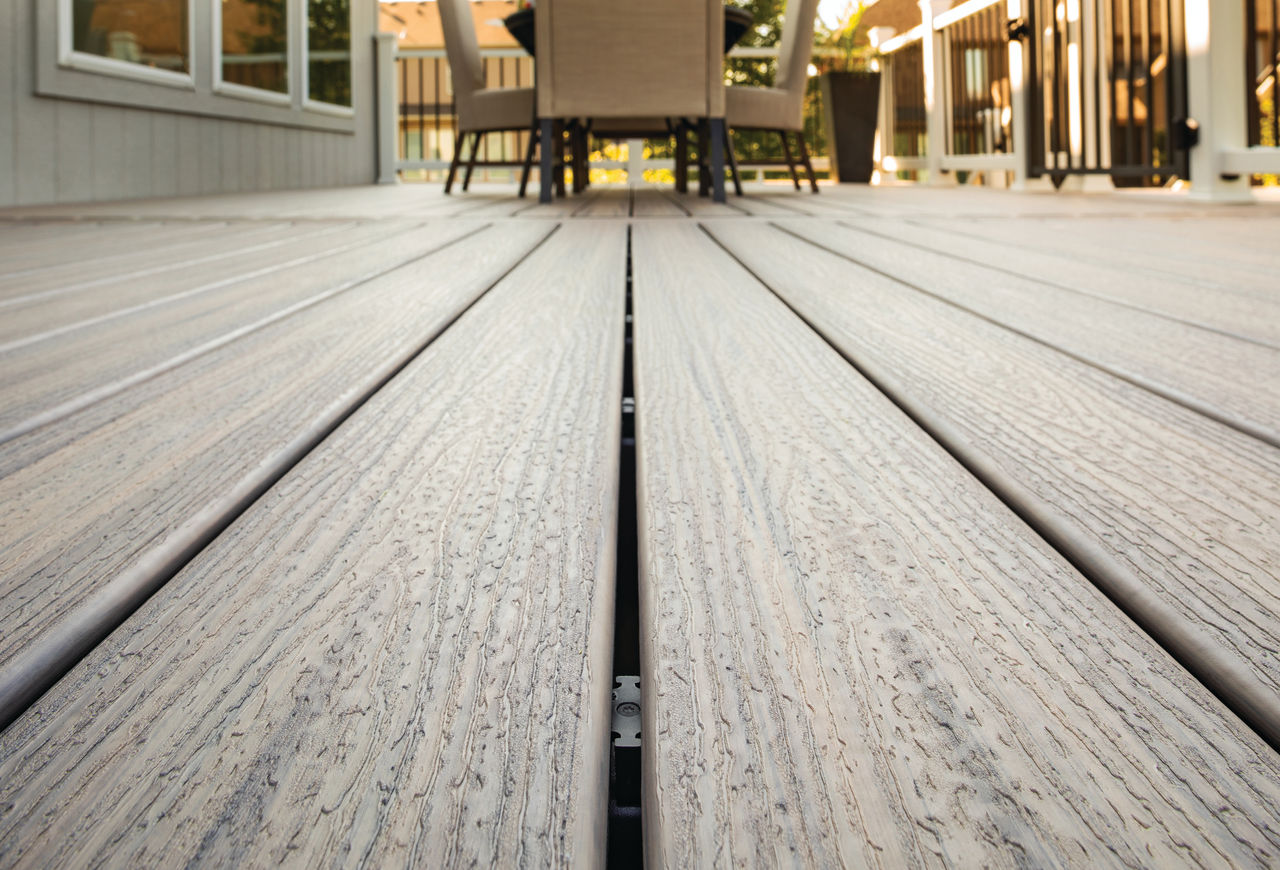
1. Joist Spanning and Gapping
The success of your deck build begins with the proper joist spanning and gapping. Ignoring the proper installation guidelines for both can ruin the build before you even get started.
Joists must be spaced on center at either 12”, 16” or 24” depending upon the size of the deck board and whether it will be used for residential or commercial use. 24" on center can only be used with 2x6 Trex in residential or commercial applications at 100psf or less and some wood decking. For heavy items such as hot tubs and planters, consult your local building code office for span requirements which vary from locality to locality.
If you want to minimize the appearance of joists through the spaces between boards, cover the joists with Trex® Protect™ tape or paint the top of your joists black.
Proper gapping of the deck boards, which allows for drainage and expansion and contraction of the boards, is critically important. Always follow gapping guidelines for width-to-width and end-to-end measurements. By attaching directly to the joist and into the grooved edge of our board, Trex Hideaway® Universal Hidden Fasteners achieve consistent gapping and leave the top of your deck with no visible screw heads.
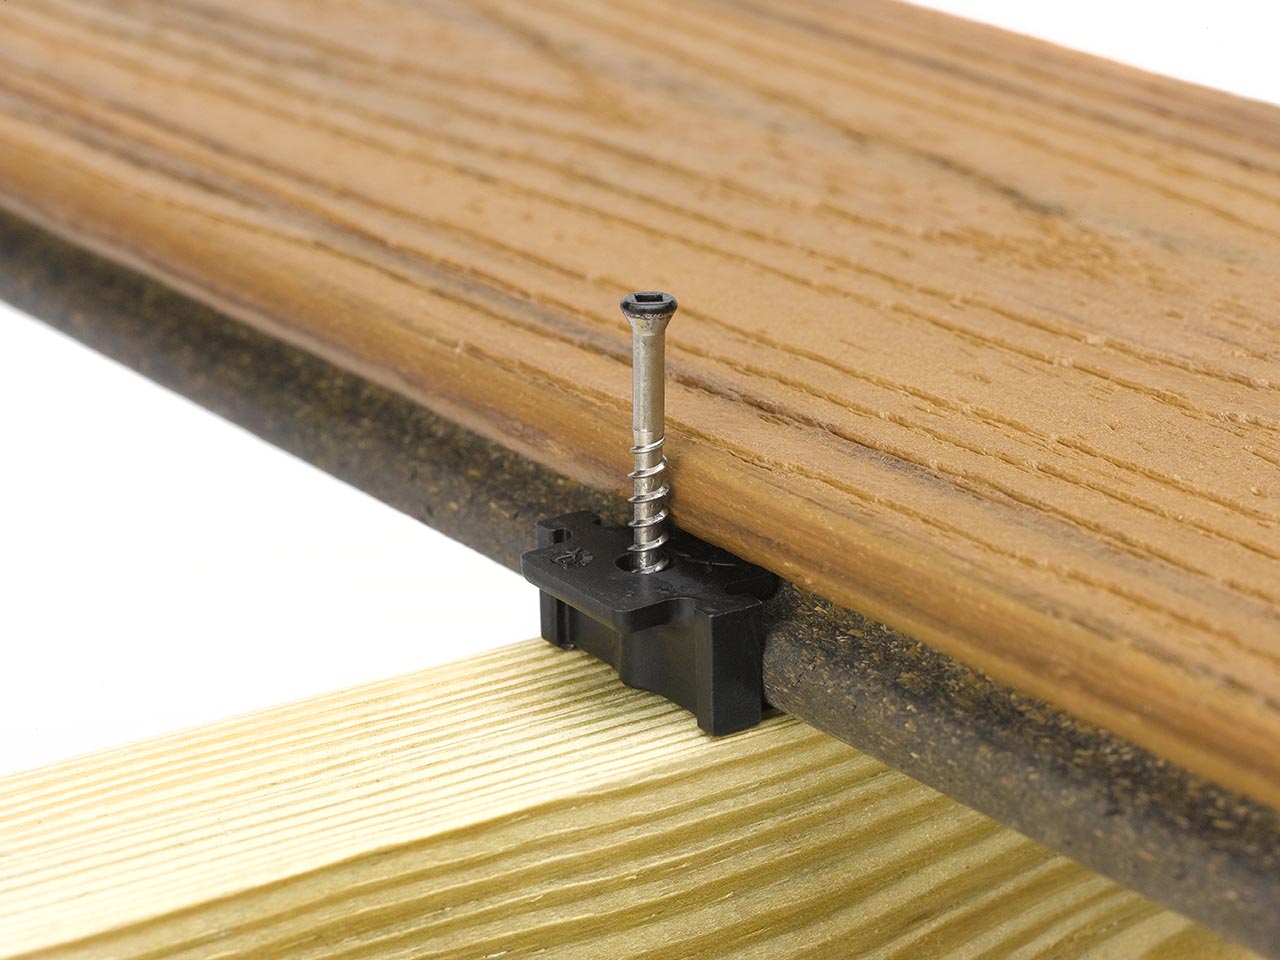
2. Screws and Fasteners
One decking fastener is not like the other. Using the wrong fastener or screw will not only lead to potential deck failure but also void the Trex warranty, so we recommend following our decking and fascia recommendations found in Trex install guide.
If you choose to use the Trex Hidden Fastener, consider also using the Trex® Universal Fastener Installation Tool which cuts installation time by about half.
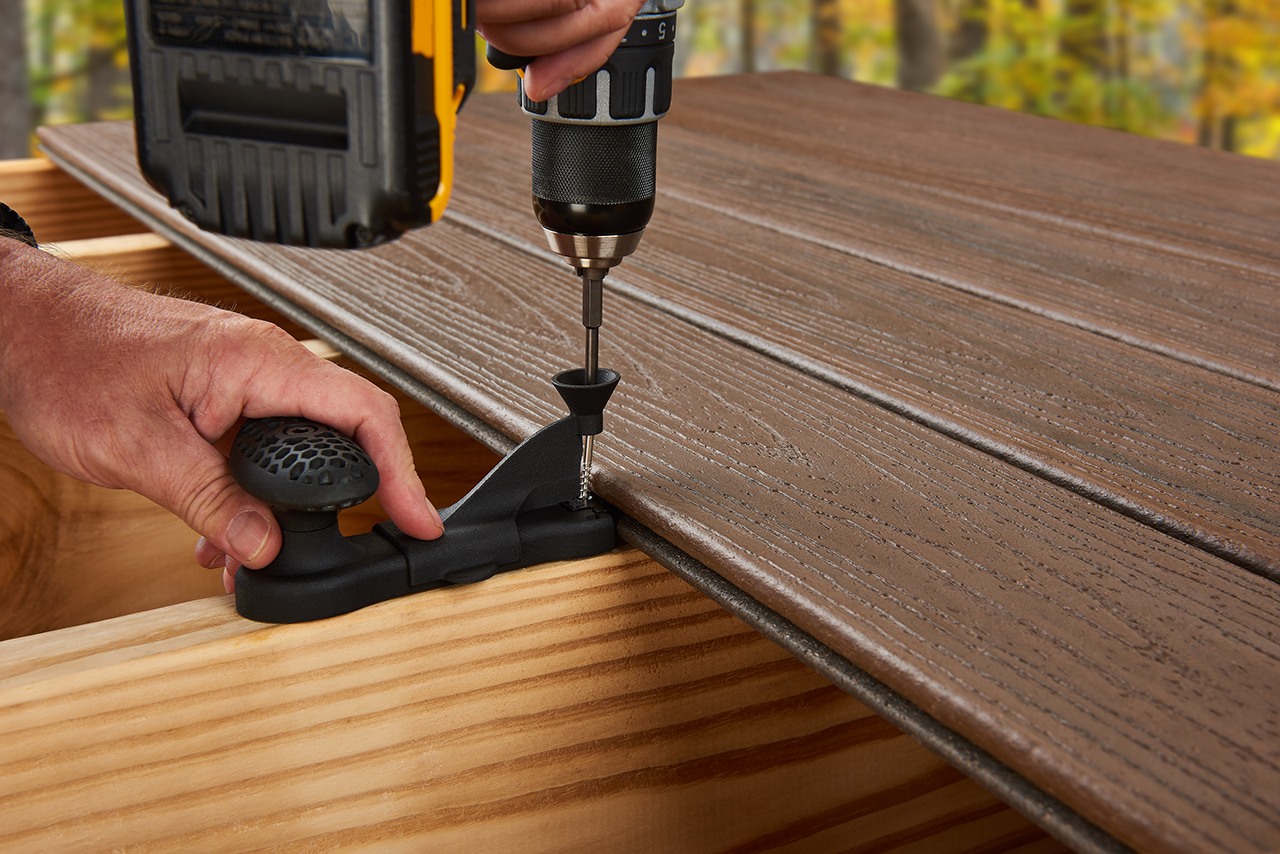
You can use composite deck screws to fasten boards to the joists, but never use exterior wood screws with composite deck boards. Exterior wood screws push the composite material up, causing an unsightly mushroom effect on the board.
Always use two screws per joist and install screws flush with the decking surface. Never countersink screws. Stainless steels screws are recommended for decks in saltwater environments.
Another hidden fastener option is to use a recommended plug-based fastener system, which is essentially a screw that comes with a color-matched plug. Some recommended brands include Starborn® Pro Plug System and the Simpson Strong-Tie® system.
Because the Trex Enhance decking collection has a scalloped underside, you cannot use plug-based screws. Plug-based screws countersink deeper than regular screws which can keep scalloped boards from properly adhering to the joists and can potentially crack the boards.
When adhering fascia boards to a deck, make sure you use composite screws designed for fascia.
3. Decking
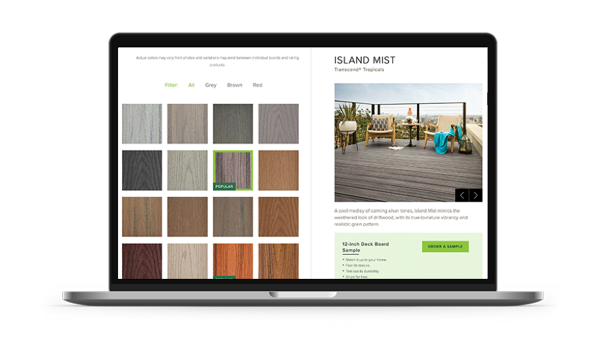
With dozens of decking colors, homeowners should give careful consideration to what board color they choose. Do you want to match your home’s exterior or do you want a contrast? Do you want a streaked decking board or do you prefer monochromatic? Keep in mind, like all outdoor surfaces the darker the board color the hotter the deck will feel. For hotter climates, consider using a lighter color.
If you choose a streaked look, once the boards are on site mix and match the boards prior to installation to ensure an appealing mix of light and dark tones.
One caution when choosing Trex decking, do not mix Trex Select deck boards with Transcend or Enhance. Select boards, at .82 inches deep, are thinner than the other collections. You can mix Transcend and Enhance, both .94 inches deep.
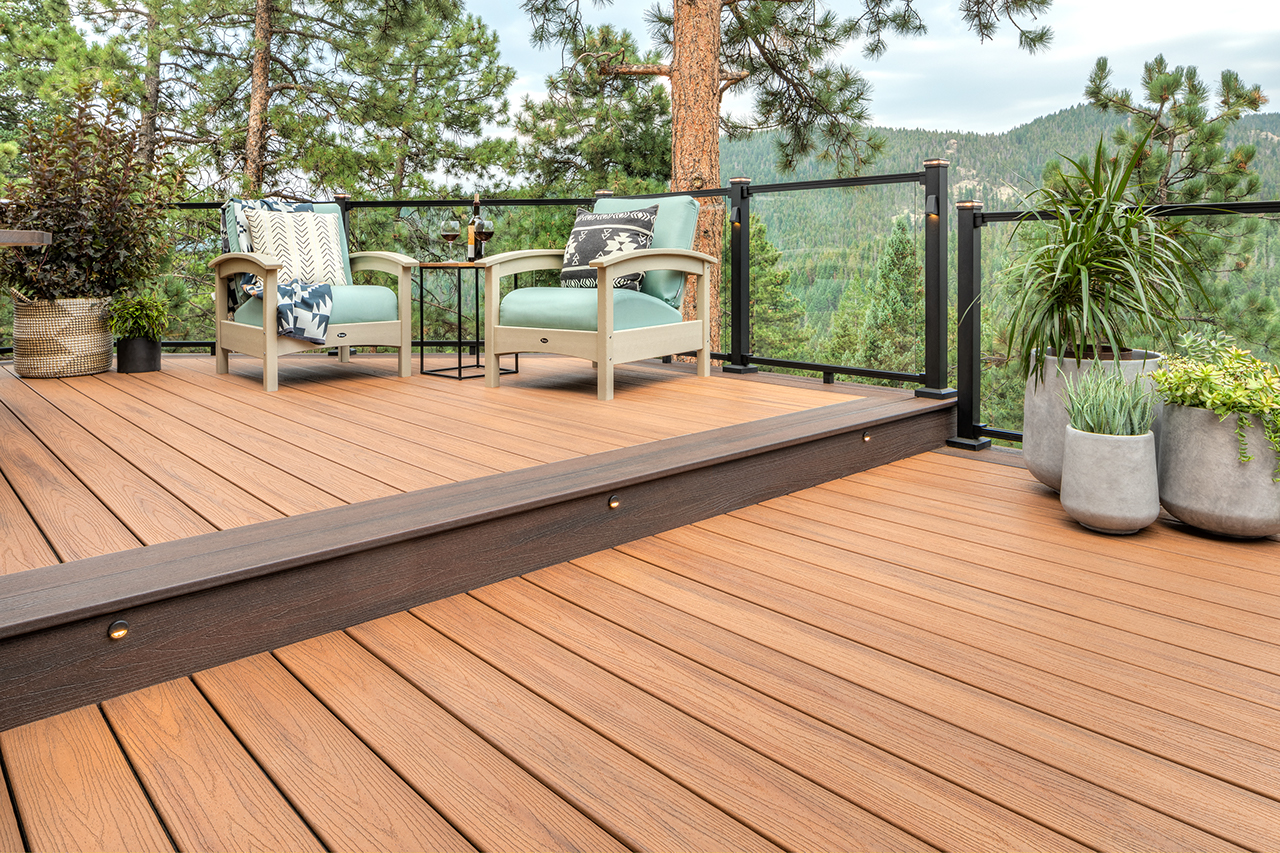
4. Railing
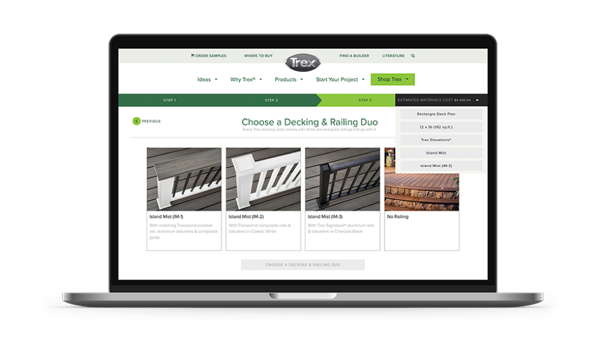
While picking the board color is one of the most enjoyable parts of project, the railing selection may be the most important. Afterall, you’ll look at the railing more often. Do you prefer a more traditional look that can be achieved with composites or would you prefer a sleeker, industrial aesthetic? Railing color choices abound, so give consideration to what goes with your house and the decking color you choose.
Joist spanning for railing should not be overlooked. Calculate in advance the number of rail posts needed before you start framing your substructure. You don’t want to start installing rail panels or top and bottom rails and realize you didn’t put your posts in the proper place. Trex Transcend and Select horizontal railings are made to be installed at a maximum of 6’ and 8’ on center while Signature aluminum railing is installed span to span between posts (often called clear span). Contact your local code official to determine the allowable span and height requirements in your area.
For post placement on stairs, you must plan post spacing based on the length of the rail and the angle of the stairs. For 6’ and 8’ stair rail lengths, stair post spans will be less than 6’ and 8’ due to the angle of the stairs.
Confirm with your local building office if ADA handrail is required and, if so, plan spanning for posts accordingly to allow for that attachment. ADA handrail requires a span of 6’ on center for posts.
Think about what activities you plan to do in your outdoor space. If you plan to have a grill on the deck, leave ample airspace between a grill and railing to prevent damage. We recommend between 18”-30” and encourage you to refer to your grill manufacturer for additional details concerning the back and sides of your grill.
5. Lighting
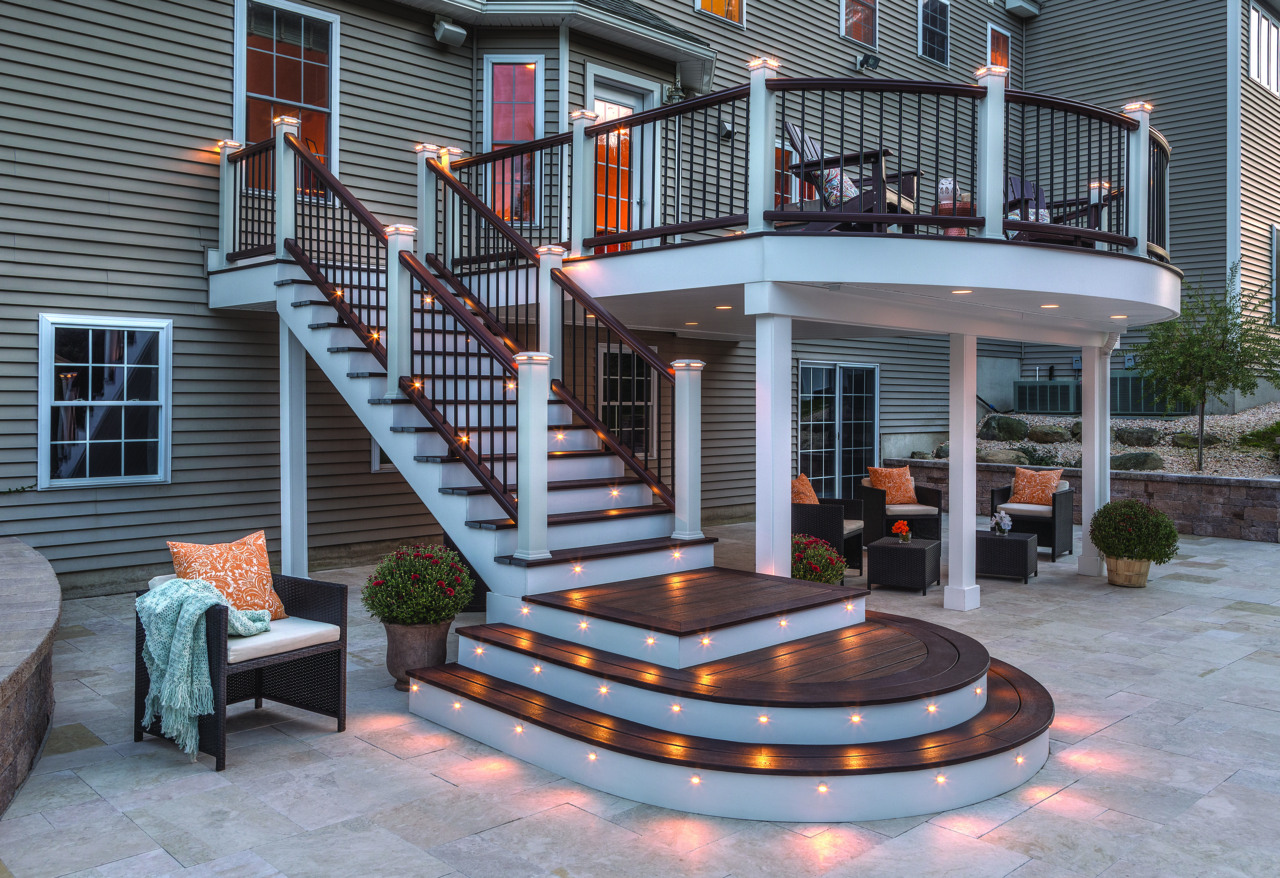
One of the advantages of using Trex outdoor products is being able to incorporate Trex deck lighting into the deck boards and railing. Not only does deck lighting improve the safety of your space, it also adds ambience as well as extends the enjoyment of the space well after dusk. You’ll appreciate planning the locations of the recessed lights that can be incorporated right into the edge of the deck boards, the power supply, timer and dimmer before you build. Wiring will need to be installed before the decking and railing.
6. Deck Drainage
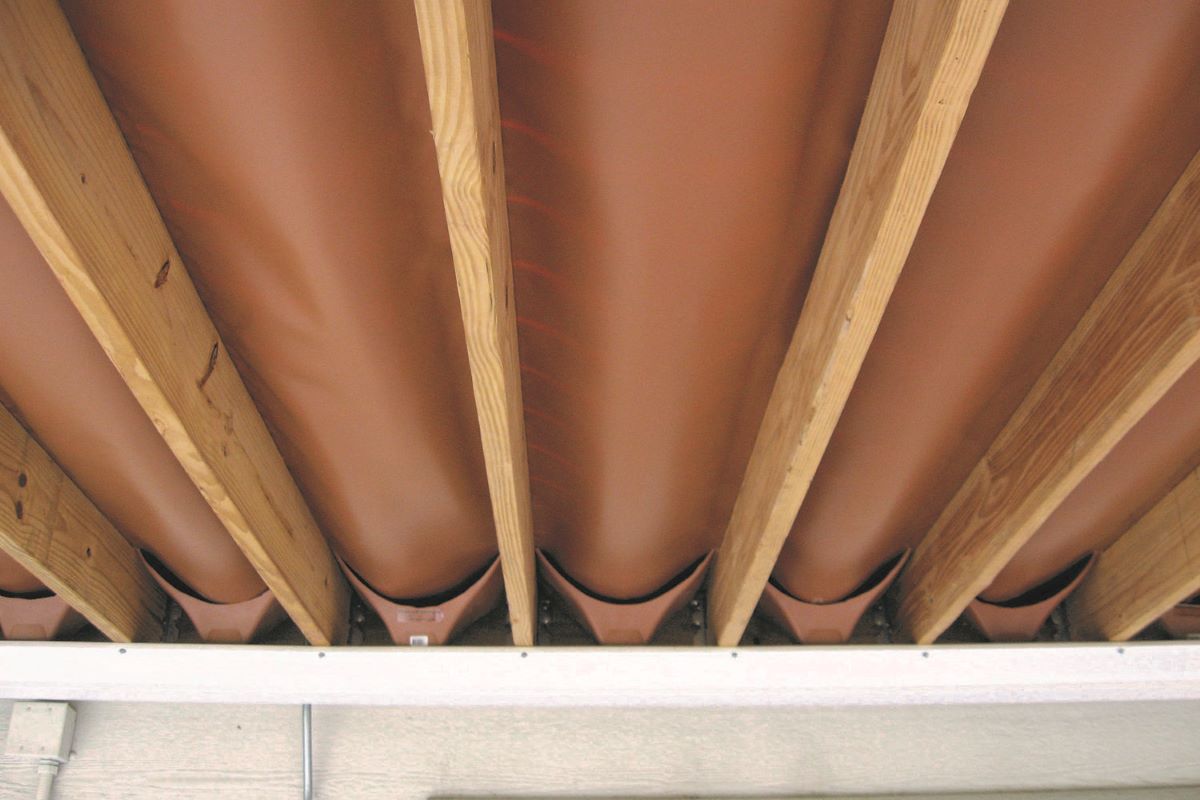
If you are building a second-story deck, you may want to consider installing a deck drainage system which will pay huge dividends. Trex® RainEscape® is a simple trough installation that runs along the joist system and drains away water from rain, snow melt and maintenance. The drainage system allows you to create a dry space underneath your deck that doubles the enjoyment of your backyard space. RainEscape cannot be added after the deck build so plan ahead.
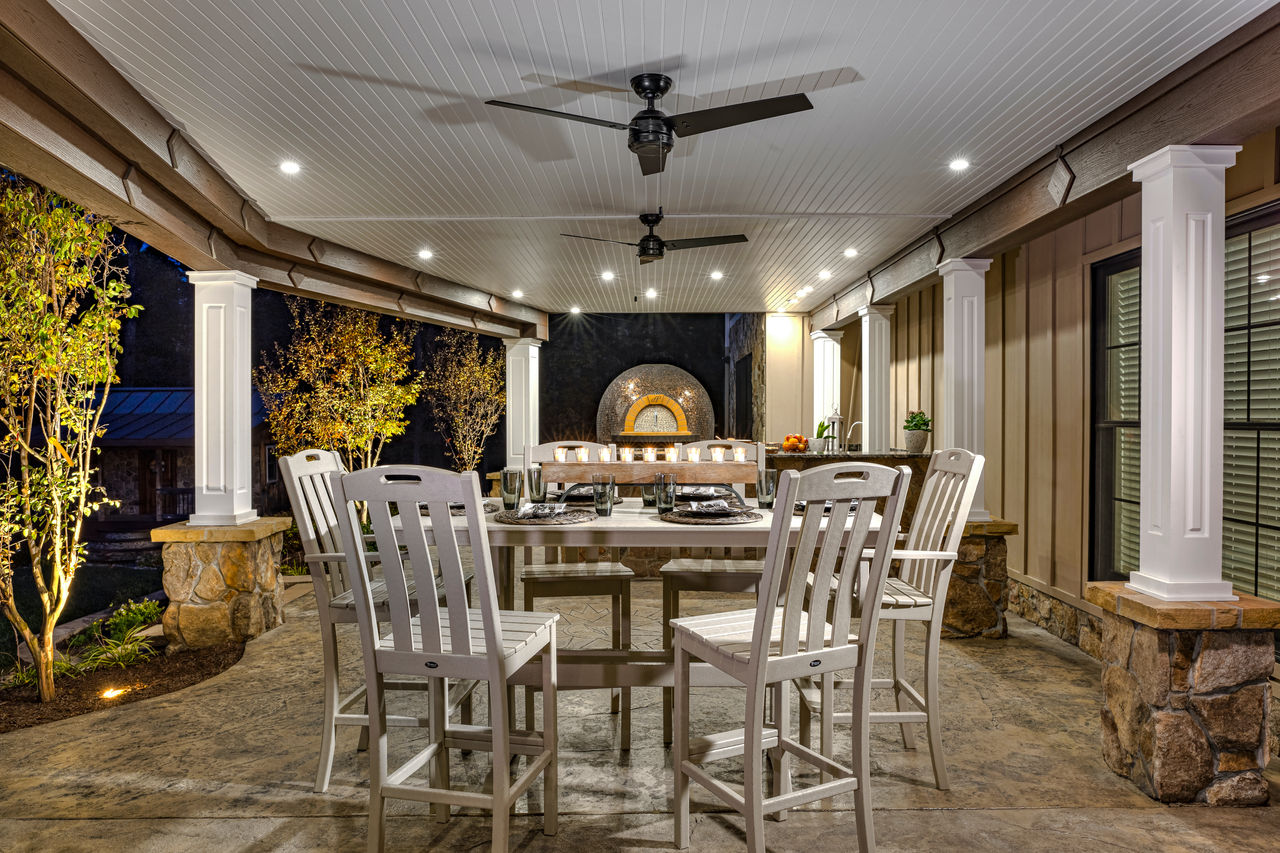
Paying attention to these steps before starting construction will give you a better chance for a successful deck build. With a little bit of planning you increase your odds of creating an outdoor space that will lead to years of enjoyment for you, your family and friends.

